When I first started working with chainsaws, I realized something funny—installing the chain seemed simple, yet it’s one of those things that can quietly test your patience. But don’t worry. Once you understand the logic behind it, you’ll never second-guess it again.
To install a chainsaw chain, place it over the clutch drum, guide bar, and sprocket, ensuring the sharp edges face forward on the top side. Adjust the tension until the chain fits snugly against the bar but still moves freely by hand.
You’d be surprised how often I’ve seen professionals mix up the chain direction or forget to tension it properly. A small mistake can dull your cut, waste time, or even damage the tool. Let’s walk through how to do it right—step by step—and understand why each detail matters.
What is the correct way to put a chainsaw chain on?
When I learned the right way to fit a chainsaw chain1, it finally “clicked.” The chain doesn’t just go around the bar—it’s meant to cut forward through wood, not drag backward. Once you see that, it all makes sense.
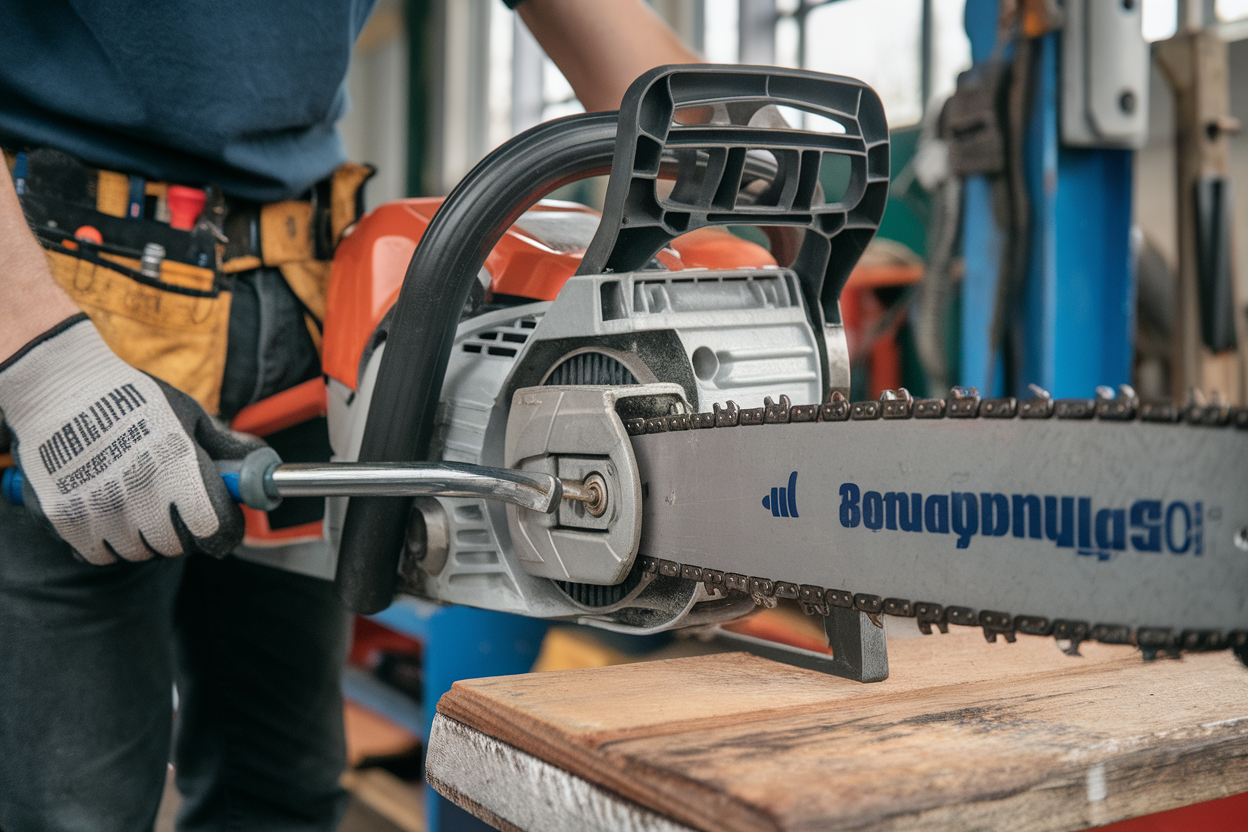
To install correctly, place the chain over the sprocket and guide bar so that the cutting teeth on the top edge face away from the body of the saw. Ensure it wraps tightly around the bar groove and adjust the tensioning screw until it’s snug but moves smoothly.
When you fit the chain, start by loosening the bar nuts slightly. Slip the chain over the sprocket, align it along the bar groove2, and pull it forward. You’ll feel when it sits properly. Turn the tension screw clockwise until there’s no visible sag under the bar, then tighten the bar nuts again.
I remember the first time I skipped checking tension. Mid-cut, the chain jumped right off. Since then, I’ve learned the rhythm—tighten, test, and always double-check before firing it up. The goal isn’t to make it stiff; it should glide but not droop.
How do I know if my chainsaw chain is on the right way?
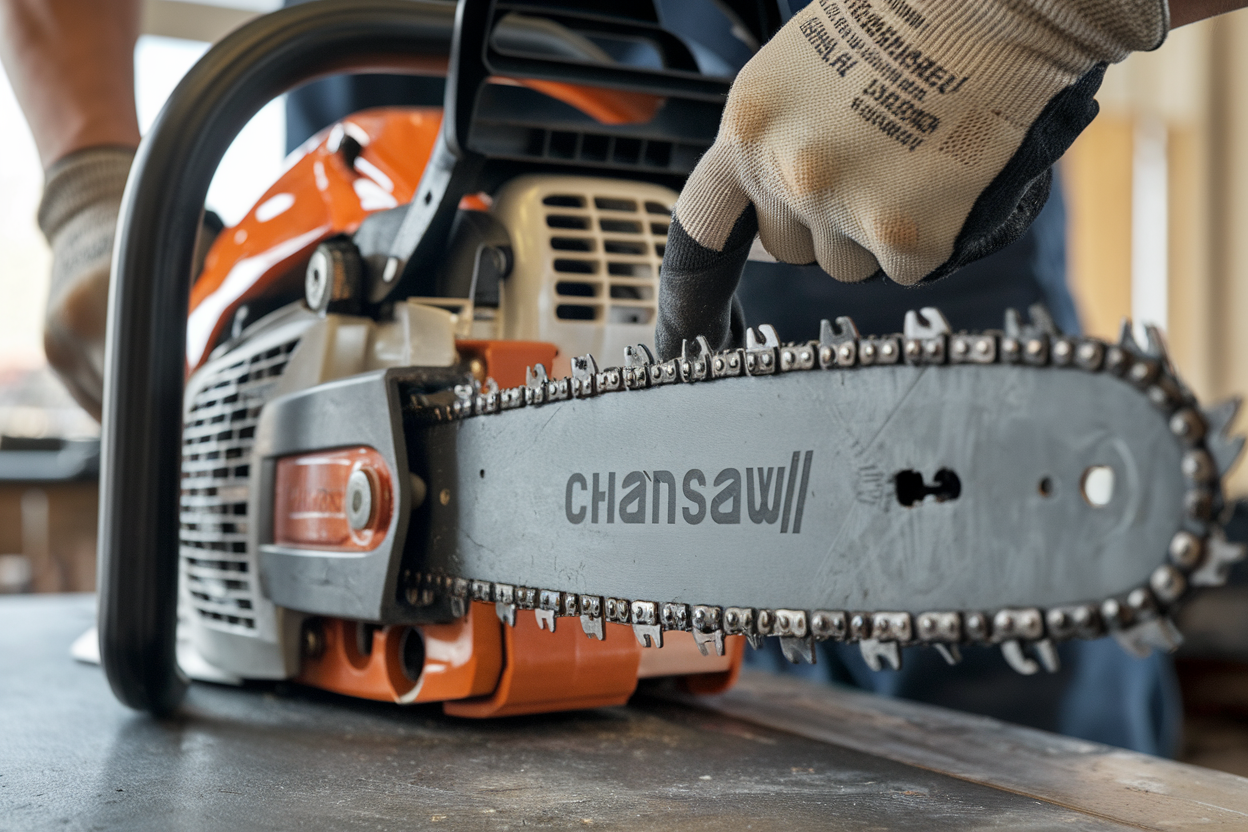
It’s easy to second-guess yourself—especially when the chain looks nearly symmetrical. Here’s my trick: focus on the cutting edge direction.
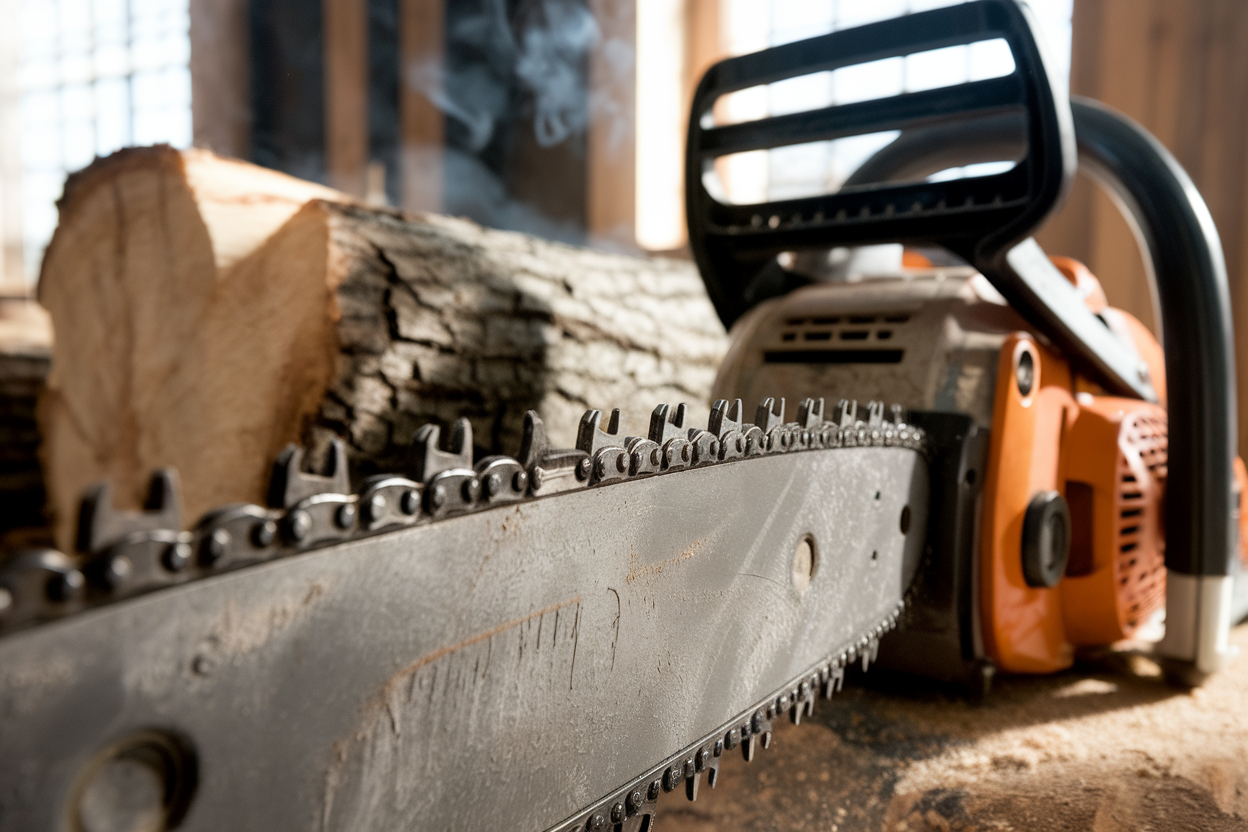
A correctly installed chainsaw chain has its cutting teeth facing forward along the top of the bar. If they point backward toward you, the chain is reversed and won’t cut effectively.
When I first started using chainsaws, I remember cutting for a full minute wondering why the wood just smoked. Turns out, I’d put the chain backward. It’s a rite of passage we all go through.
Here’s a quick reference table I keep on my shop wall:
| Position | Direction of Teeth | Description |
|---|---|---|
| Top of bar | Forward (away from handle) | Correct orientation |
| Bottom of bar | Backward (toward handle) | Normal return loop |
| Backward on top | Wrong direction | Chain won’t cut |
Once you install it, give it a visual check before tightening. The sharp tip of each tooth should lead in the direction you want to cut. If you’re not sure—look at the manufacturer’s diagram stamped near the bar or check the manual. A quick glance can save a long headache later.
How many times can you sharpen a chainsaw chain before replacing it?
This is one of those questions I get all the time, and honestly, it depends on how you treat your chain. I’ve had some last a full season, others gone in a week—especially if I accidentally hit a nail buried in wood.
Most chainsaw chains can be sharpened about 8–10 times before replacement, depending on wear, depth gauge condition, and whether the cutters still have enough metal left for proper filing.
If you’re cutting clean wood and maintaining your chain, you’ll easily get multiple sharpenings. But if you often deal with dirty or sandy logs, expect fewer. You can tell it’s time for a new chain when:
- The teeth are too short to file properly.
- The chain stretches beyond safe tension.
- It loses cutting speed3 even after sharpening.
I once tried to push a chain too far—after the tenth sharpening, it started “walking” off the bar. The cutters were so short that they couldn’t bite properly. That was my cue to let it retire. Chains are cheaper than accidents, trust me.
Quick tip:
If you’re unsure, compare your old chain with a new one side by side. You’ll instantly see how much metal has been filed away. When in doubt, replace it—it’s a small investment for smoother, safer cuts.
Conclusion
Installing and maintaining a chainsaw chain isn’t complicated once you understand the small details. It’s about rhythm, awareness, and care—something you build over time, one cut at a time.